DIY Door Grid
September 30, 2022
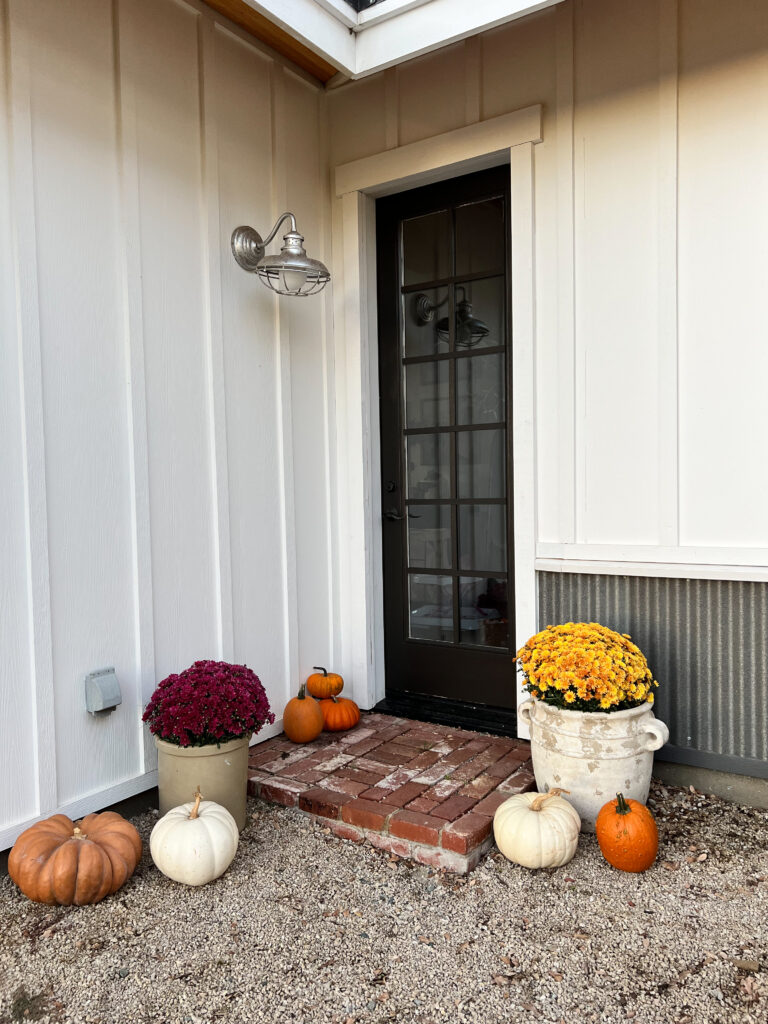
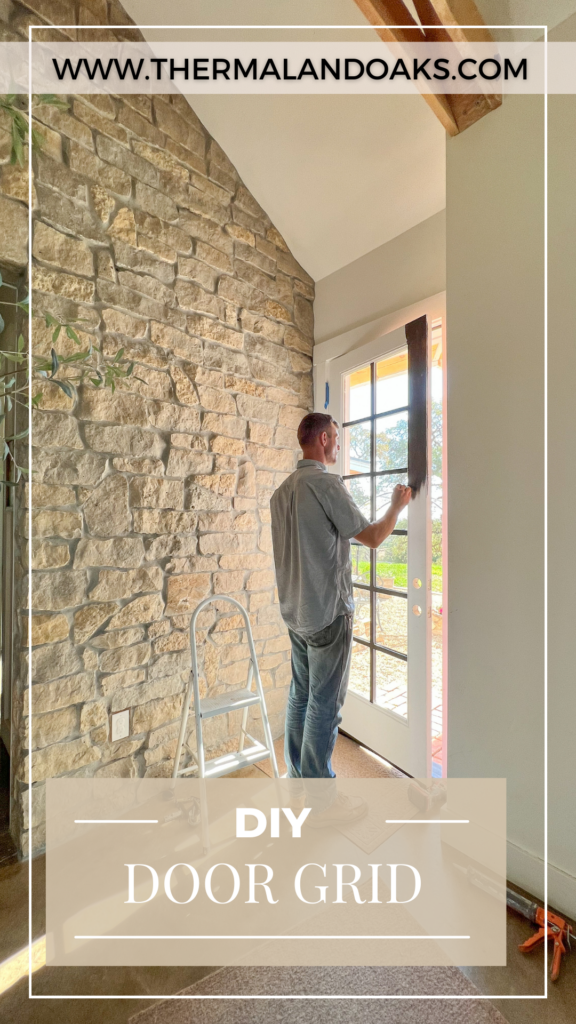
Let’s be honest, sometimes when you’re scrolling Pinterest, you see way more DIY projects that you want to do, but not all of them are that easy. If you’ve been looking for a DIY door makeover, this one’s for you. It’s so easy and surprisingly cheap! Check out how we made our own DIY door grid.
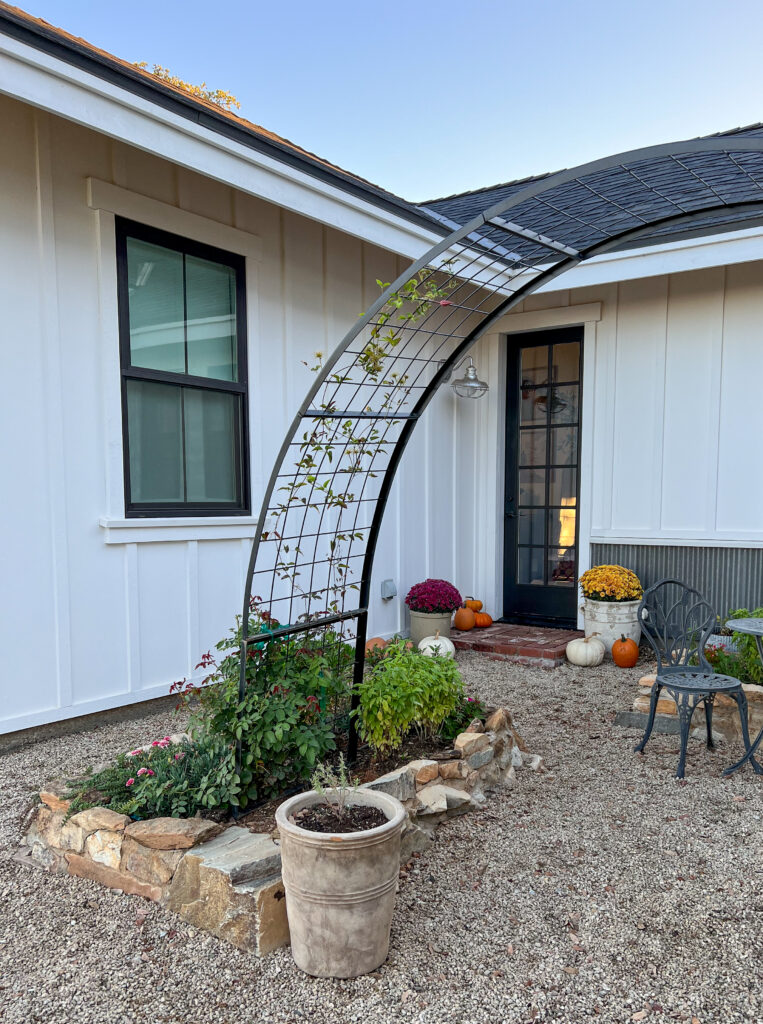
Can I paint the grids embedded in glass?
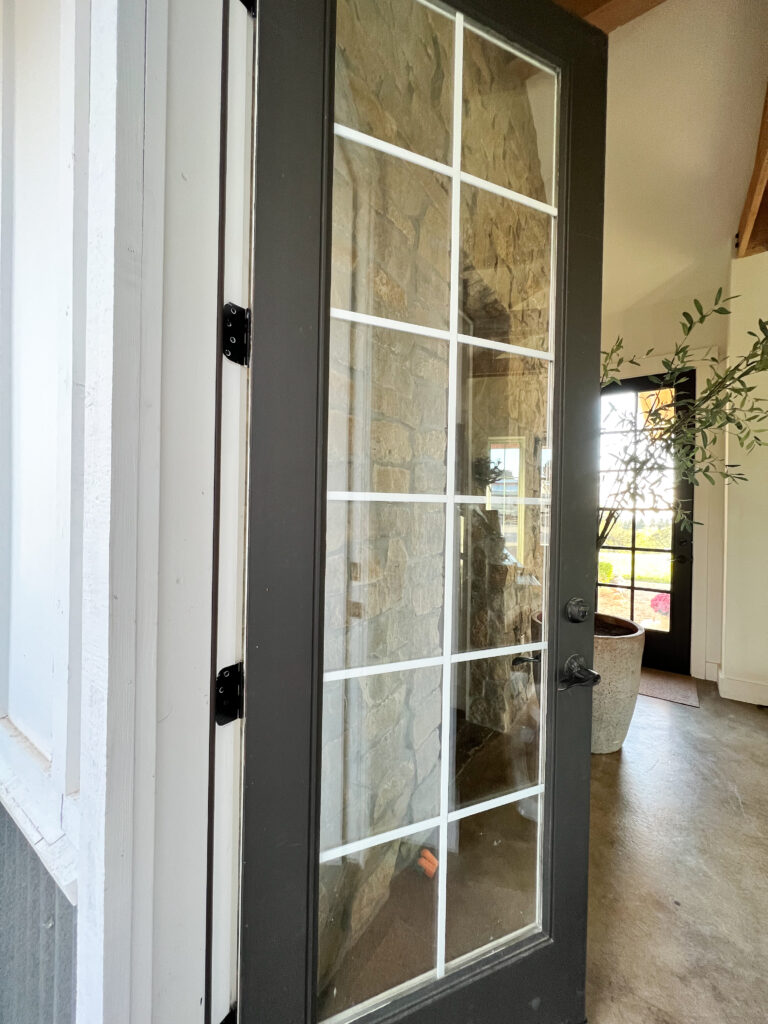
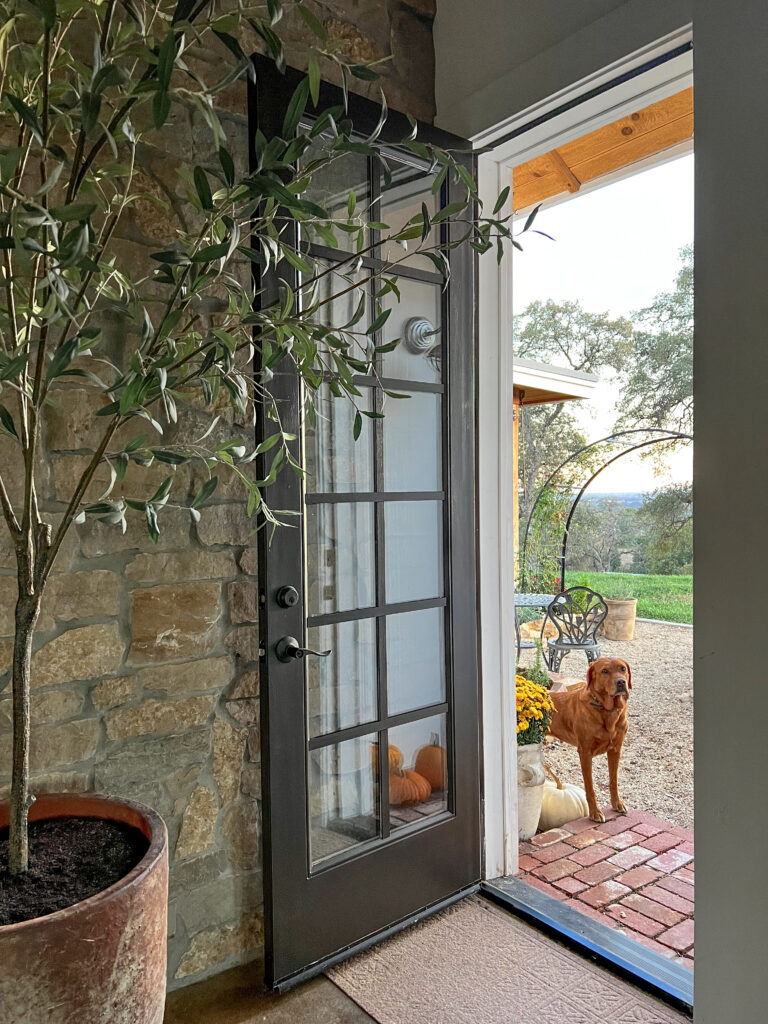
The doors that we installed on our farmhouse had white grid lines embedded in the glass. For a long time, we loved the look of it! As we continued to make additions to our home, we decided that we wanted to paint the doors leading outside a different color, but that brought up an issue: how are we going to paint the grid lines embedded in the glass?
Unfortunately, the answer that we found was that we could not remove the grid from the glass in order to paint it and we would have to find another solution. I was determined to make my DIY door dreams a reality, so I started looking for options. The first thing that I stumbled upon was an electrical tape hack. I’ll talk later about why we didn’t go with that option. Trevor took a look and decided that using thin pieces of wood and fitting them flush together would be our best option.
We were able to find scrap pieces of wood from a previous project, but if we needed to buy the wood needed for our DIY door grid, it would be really inexpensive. Not much paint is needed for the door, and we used the same paint for our grid so that it all matches! We had all of the glue we needed for this project on hand, so it made it super simple to throw together. This DIY door grid was not only easy to make, but it was also made in a way that will last and look good in our home.
@thermalandoaks Please stop using electrical tape for so many reasons. 🤯 Make DIY windows grids with wood & paint. This is beginner friendly home upgrade you can do on a budget !! Only a few tools needed listed. #budgetfriendlydiy #budgetfriendlydecor #window #windowgrids #diywindow #diyblackwindows #diyduo #diydupe #diydupes #highend #interiordesign #ibuiltthat #marriagegoals #diyhumor #renovation #reno #easydiy #easydiyprojects #cheapupgrades #homeupgradetips2022 #electricaltape #electricaltapewindow follow for my diy home projects
♬ original sound – Melody
Can I use electrical tape to DIY Door grids?
As I mentioned before, when I first went looking for DIY door grid options, I saw a lot of people using electrical tape to create grid lines on their glass doors. At first glance, this may seem like the best way, but there were a few substantial reasons that we chose to upgrade from the tape idea.
First of all, the tape may not match your door or window exactly, even if the door is black and so is the tape. It may look good from afar or in pictures, but close up the tape would not look like it was an intentional design on your home. This brings me to my next point, we put so much care and consideration into our home, and we would not want to spend so much time on something like a DIY Stone Backsplash and then put tape on the door as a permanent fixture. We would rather wait until we were able to do it in a way that would stand the test of time.
Electrical tape does not have what it takes to withstand weather conditions or the normal wear and tear of an interior/exterior door. After a few weeks or months, the ends will start curling up and the tape can start to fade in the sun. The tacky adhesive that the tape would leave behind, especially after being heated by the sun, would not be fun to clean up. This is why we would not recommend using electrical tape for your DIY door grid project.
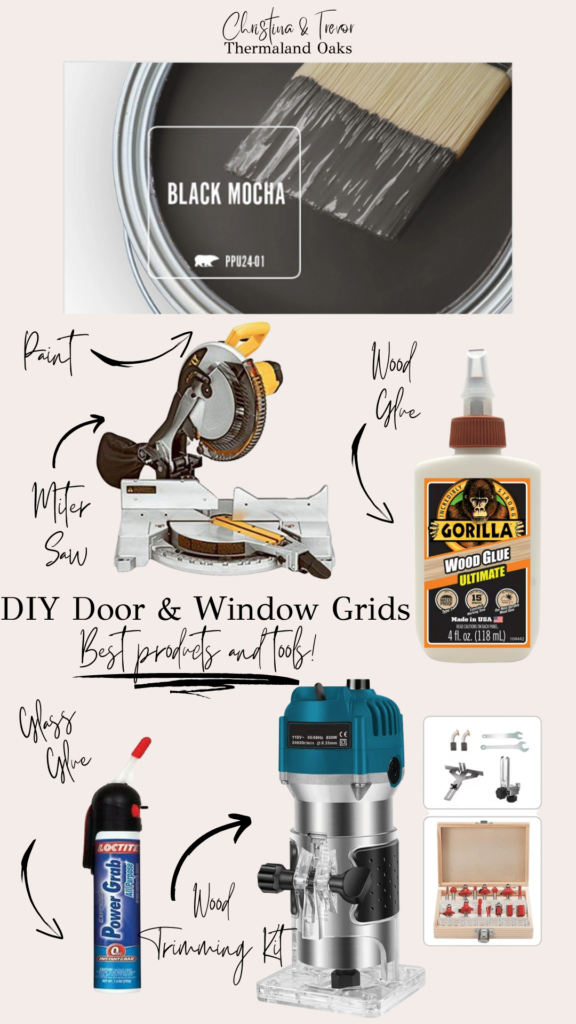
Wood Glue | Miter Saw | Wood Trimming Kit | Glass Glue
@thermalandoaks DIY window grids turned out amazing !! Obsessed using this on all of our doors & windows with the white grid. #diyproject #project #marriedlife #diyduo #marriagegoals #hubbywifey #relatable #diyhumor #windows #windowgrids #windowpainting #diywindowgrid #blackwindows #blackwindows #diywindowgrid #electricaltapechallenege #homeupgrades #renovation #reno #cheapupgrades #cheaphomehacks #budgetrenovations #homemade #homehack budget friendly home upgrade beginner friendly
♬ Sensual Seduction – Snoop Dogg
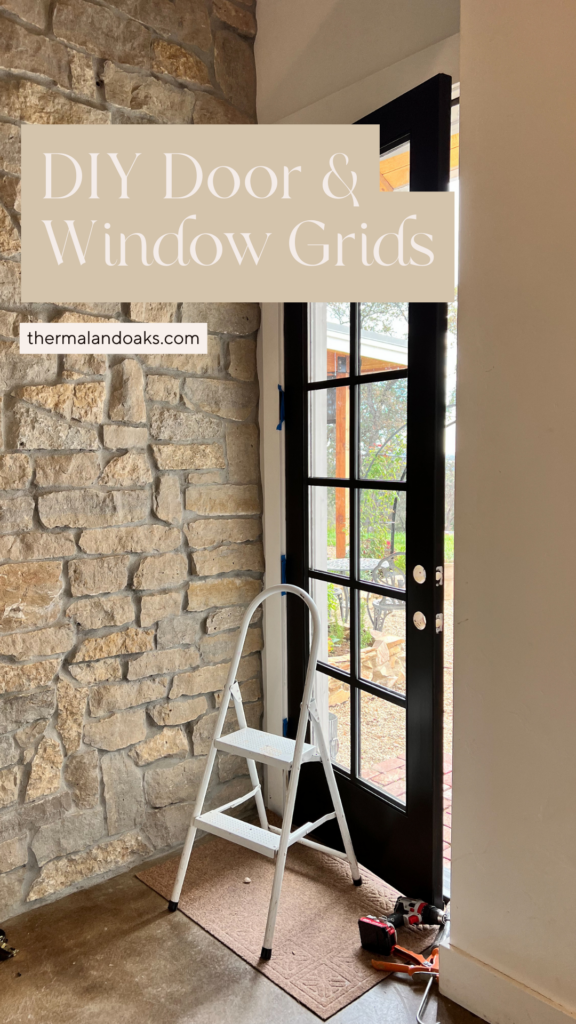
DIY Door & Window Grids
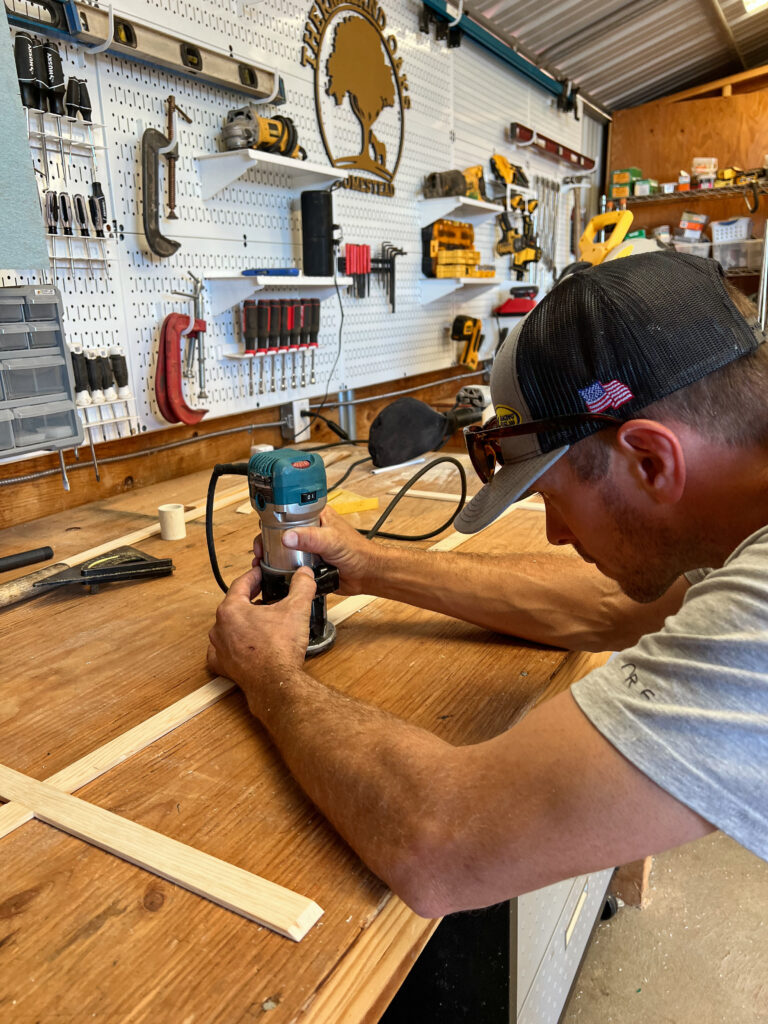
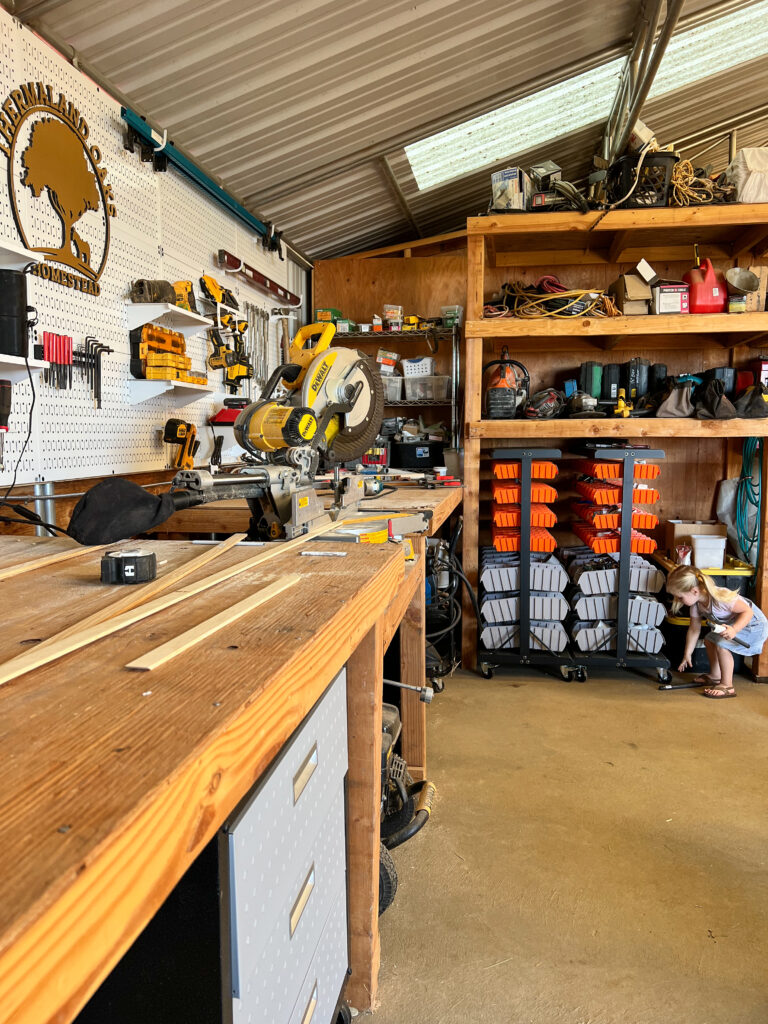
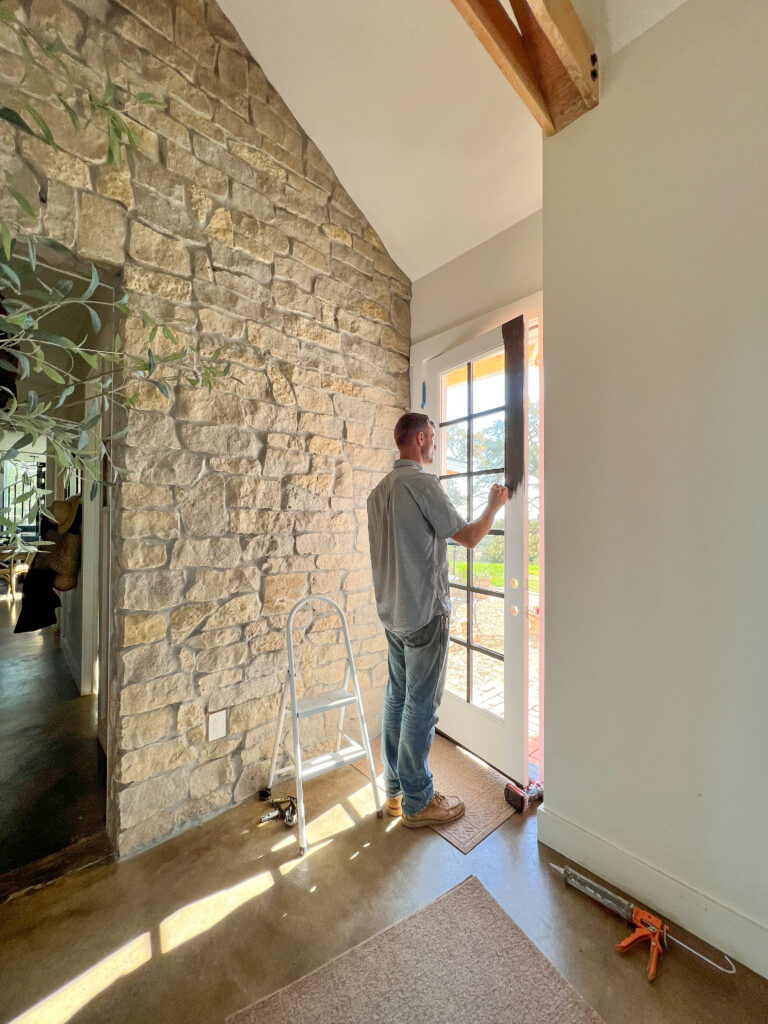
For our DIY door grid, we used 1/2 inch by 2-inch boards, which are inexpensive to buy at your local hardware store. We started by using a saw to trim these boards to be the width of the door, as well as trimmed one for the vertical line that runs through the middle. Once the pieces were cut out, Trevor used his wood trimmer to cut halfway into each horizontal board. He cuts so that the board that runs vertically can lay inside of the horizontal boards, and the entire grid can sit flush against the glass.
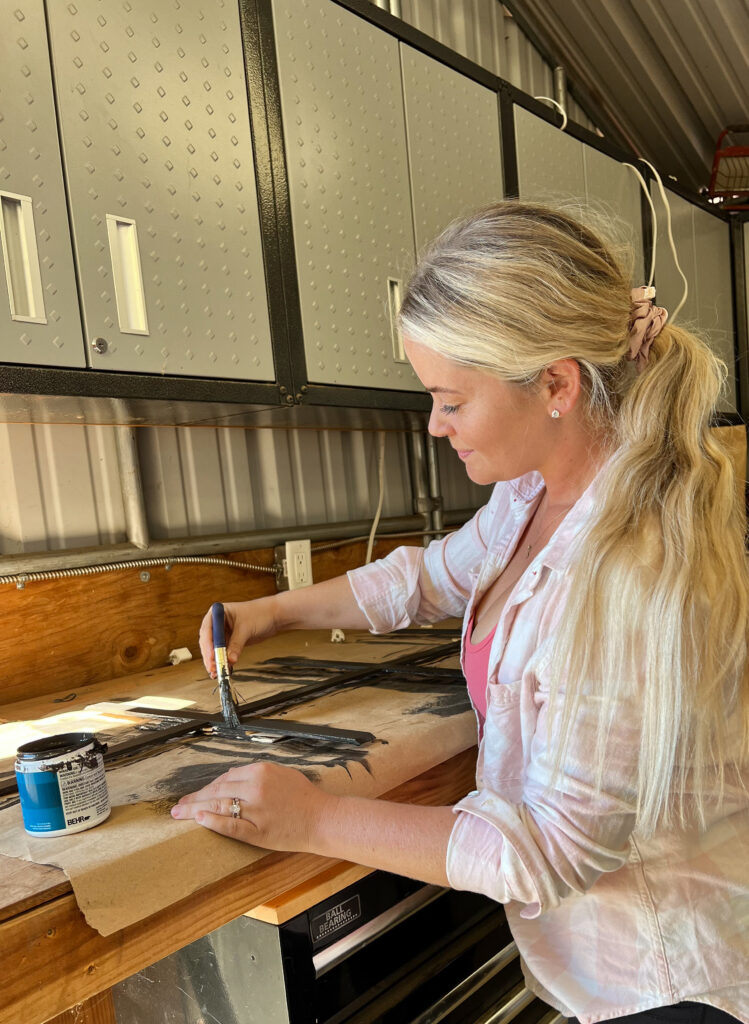
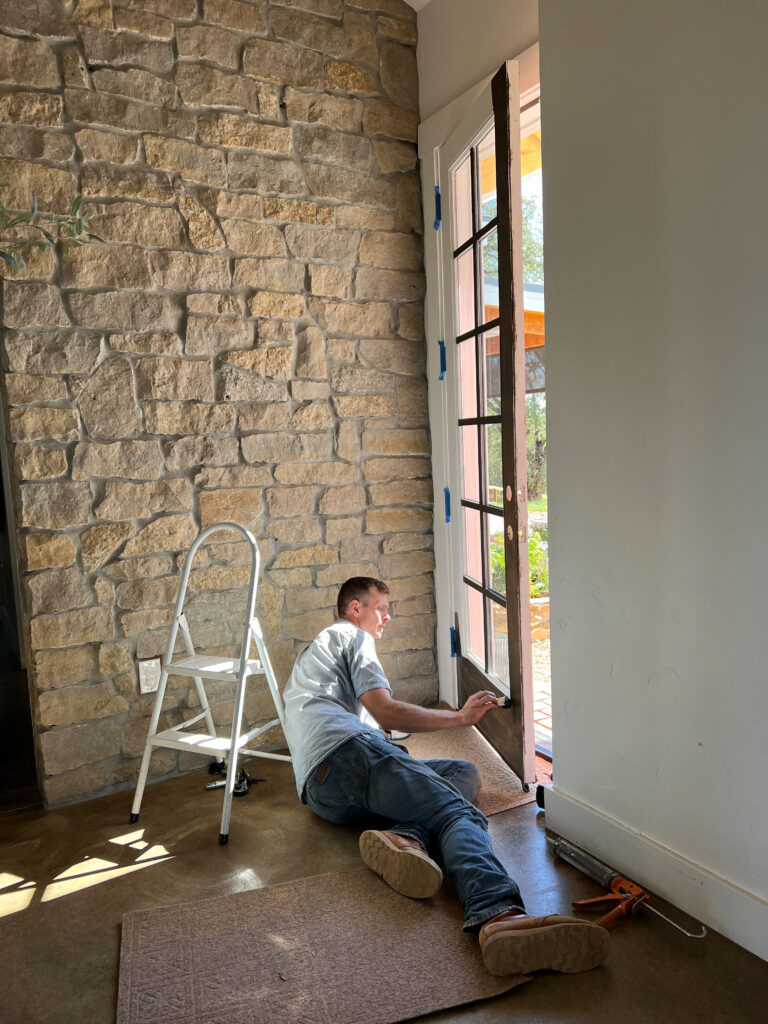
Once all the pieces were cut and glued together with wood glue, we painted the entire DIY door grid using Behr Black Mocha. This color is typically used for window fittings and ties the whole farmhouse together in the perfect way. We also used the same can of paint to paint the inside and outside of the door itself. We had to wait for all of the pain to dry in order to install the grid, but it was definitely worth the wait!
We got the paint dry and got to work on installing the grid to the door. We used this glue to secure the wood to the glass. This glue should protect the DIY door grid from water damage and keep it on the door permanently. Trevor strung a thin line of glue across the entire back of the grid, and we placed it onto the glass. The glue was still wet for a minute, and we were able to make sure that the DIY door grid was perfectly lined up. We then pressed it into place and repeated the process for the other side.
We are so happy with how this easy project came out. Have you revamped your door with a DIY door grid or any other DIY embellishments? We would love to see them! Share in the comments, friends.
Hugs,
Christina & Trevor

What We're
loving
Right Now
Looking for our favorite things? A place to shop our home room by room, or just catch up on what Christina's wearing / loving right now? Browse the TLO shop.
SHOP ALL


Leave a Reply Cancel reply
Christina
&
Trevor
Can We Send You Love Letters?
Our favorite way to stay in touch with you! When you join our weekly newsletter you get access to exclusive content, never-before-seen photos, your questions answered, and our favorite DIYs. Sign up below!
Follow Along on Instagram
Welcome to our online community where we've posted home, garden, DIY, fashion, renovations, recipes and family since the beginning.
@thermalandoaks
Pull up a chair
stay a while!
What's your fancy?
DIY
Animals
Recipes
Fashion
&
Holidays
Garden
Lifestyle
about
work with us
shop our home
Contact
Gift Guides
PLEASE COMMENT BELOW